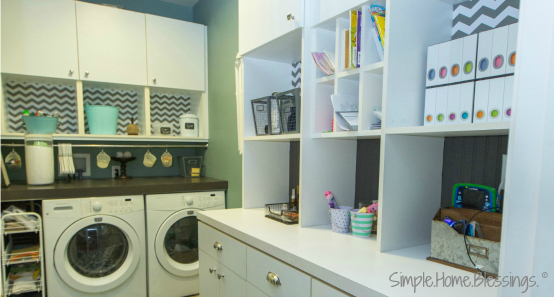
FINALLY! I am finally ready to reveal our laundry room makeover. You have been getting glimpses of it through some of the posts I have been doing since the beginning of the year, but now I have some amazing pictures (thanks to my friend Erica) to show you just how big the difference is!
When we first moved in to our house about 8 years ago, we were blessed to have an “indoor” laundry room. At our first house the laundry was in the un-drywalled garage. It just felt dirty even if the laundry was clean. A few months before we moved, we had purchased our front loaders for the laundry. The indoor laundry room was completely empty except for the washer and dryer. So, my husband had his cabinet-makers make some cabinets to maximize the storage options in the room. They added uppers and a countertop over the washer/dryer and created a large cabinet on the perpendicular wall with lots of hidden and exposed storage options. And we painted the walls a cool teal/blue. I fashioned some curtains to cover the washer/dryer when I didn’t want them to be exposed. And that was our laundry room for quite a while. 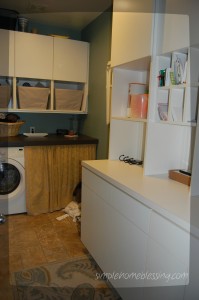
Fast-forward a number of years and I started to think about this space in a different way, wanting it to be more functional for our needs as a family. And as we started working on our 7 Year Itch projects, I started dreaming about the things I would like to do in our laundry room. I figured I could make a big impact in this room without spending a bunch of money, since almost everything I needed was in the room already. I came up with a list of small projects I could complete in the room:
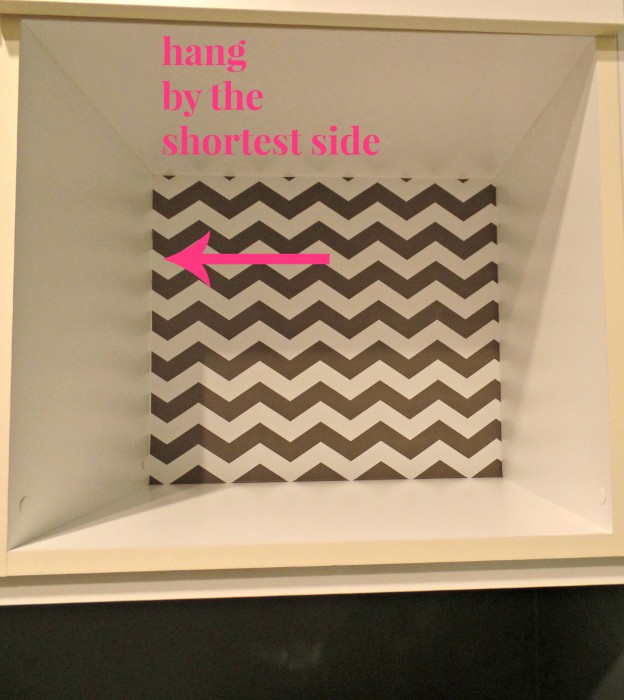
1. a cabinet makeover – adding contact paper to the back of the open shelving and (finally) painting the bead board backing on the large cabinet’s lowest open shelf. I removed some bulky bins that were in my open shelves over the dryer and backed the shelves with some of my favorite contact paper. Find out more about the installation of the contact paper (with tips for how to hang it) here.
2. a large chalkboard for our girls to use while I fold laundry – I love this idea for our girls because it can grow with them over the years! Our older daughter loves to draw and is learning to write her letters, so this is a perfect solution for her. Our younger daughter loves to do anything her sister wants to do; so she can spend hours with her sister in front of this chalkboard. My painter, Myles and I worked out how to make our own chalkboard paint (adding unsanded grout in a color similar to the paint color we chose) and we were SO excited when it worked out for us!
NOTE: if you are looking to create a chalkboard wall in a room of your house, please keep in mind that the wall will likely have to be retextured before you can paint it with chalkboard paint. We have a light texture on our drywall throughout the house, so we had to re-texture the drywall to create a flat writing surface.
3. a family photo display – this is my favorite project in our entire house! I LOVE how this turned out and love that it is completely interchangeable. Our whole family (and extended family, when they visit) loves to stand in front of this wall and talk about our memories. This is definitely the highlight of our landry room makeover! Find out more about it and how to do it yourself here.
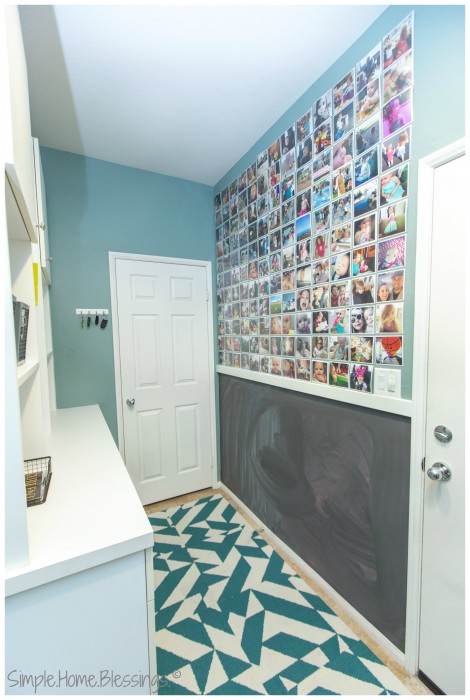
4. a new rug – I searched and searched (for almost a year) for a rug that would fit the awkward size of our laundry room and fit with the style we were going for in the room. Finally, I remembered FLOR products while I was spying out a laundry room makeover from Centsational Girl (how funny, I just went over there to get the link for you and realized I COPIED her rug choice! I didn’t even realize it! Too funny.). I realized the FLOR products would be just the perfect solution to my awkward-sized needs. I went over to their site and signed up for a discount code and ordered quickly. I LOVE the result in our room! And I love that the carpet tiles can be taken up and washed individually in the kitchen sink when spills happen.
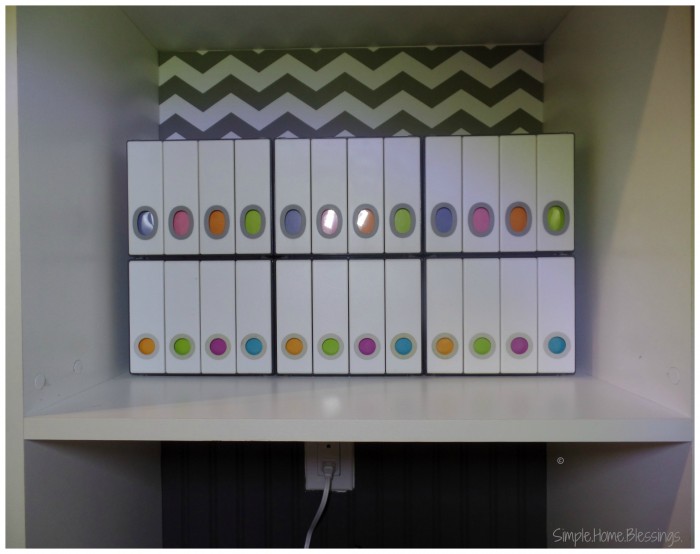
5. new organization and de-cluttering – I installed a shower curtain rod under the upper cabinet over the washer and dryer for hangers and some small laundry baskets I found to contain odds and ends. I also found a few baskets and buckets that worked in the laundry room (some were from Target’s dollar spot and some were clearance items). I also found a small garbage can to contain lint and other small items found in the laundry. I decided to contain my dryer sheets in a plastic container for easy access. In the large cabinet, I created a new organization system for our CD storage that makes it possible to listen the music I love, with a great style. But the biggest impact in our laundry room was made by a huge de-cluttering project I started in January. The first room I tackled was the laundry room. The results were such an impetus to keep de-cluttering throughout the house.
6. new lighting – this was the disappointment of the project. I planned on getting some industrial style light fixtures in the laundry room, but after ordering them and waiting a really long time to install them, we discovered they would not work for the laundry room. I was bummed! Instead we installed a motion sensor timer switch in there. That way the light switches itself off after 30 minutes of inactivity in the room.
I was able to complete almost all of these projects – I am still sad about the lighting situation, but maybe another solution will present itself in the future.
So, without further ado, here are the results of our laundry room makeover!
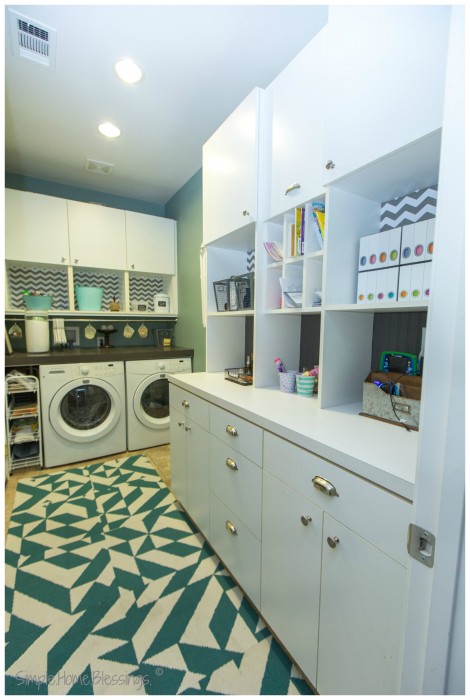
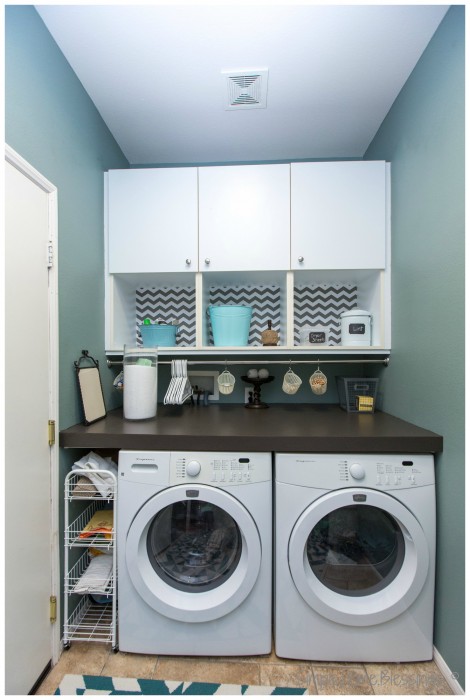
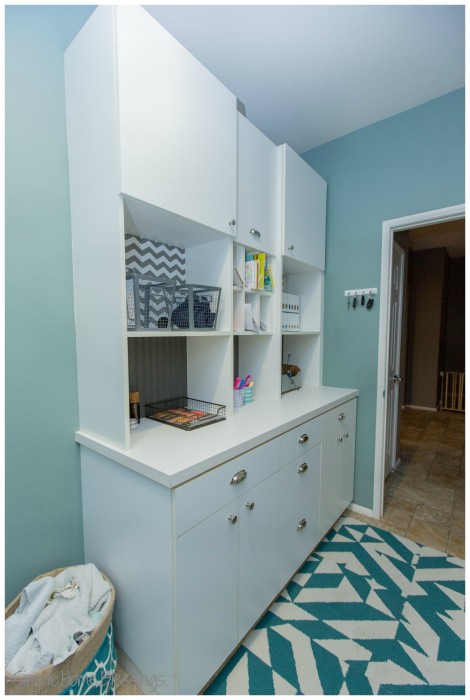
What do you think? We are loving it! On to the next project!







This Post Has 5 Comments
It really looks awesome and efficient. There are several ideas I am going to use in my new laundry room. Also, even if you can’t have a cabinet maker come in, there are many ideas that are cost effective for phase 1 of someone’s makeover.
Looks amazing! Great job!
I love everything about it…the wall, the rug, the contact paper, the little baskets on the shower curtain about the washer/dryer. This room turned out SO good…functional and awesome looking.
Hi, I love the organization of the washer/dryer area, but I was wondering how you worked in an area to hang clothes?
I installed an old-fashioned drying rack in the area between the front cabinets and the back cabinet (where the washer & dryer are). You can see it peeking through in some of the pictures. It is white. It lifts up and expands into about 10 arms or so for hanging.