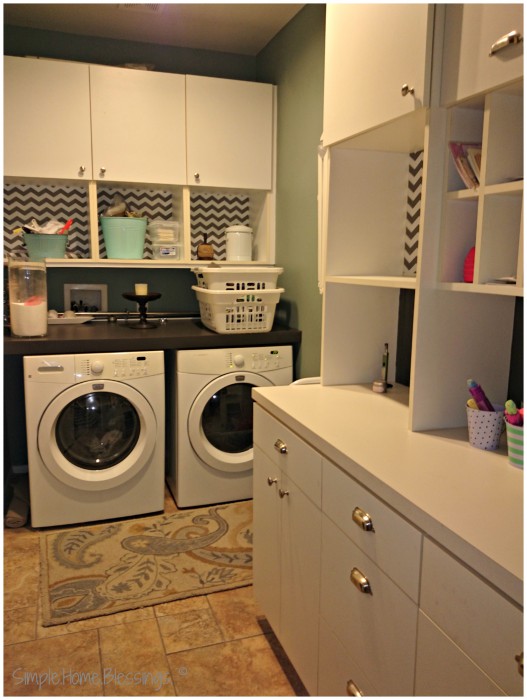
We are blessed with a laundry room in our home. In our last home, the laundry was in the garage (and the garage wasn’t even dry-walled). And when we moved into our home the laundry room was not outfitted with any storage. It was a nice large space with absolutely nothing in it. The blank canvas was screaming for some shelving! We designed some cabinetry back then and had it installed. But I have been kind of ready for a change for a while, so I decided to make over our cabinets with some contact paper.
I have kind of fallen in love with contact paper in recent years. It is so easy to work with and can make a bold statement while transforming a space. I used a great blue and white contact paper in our pantry last year and I still get a little giddy when I open my pantry door and am greeted by the cheery paper lined walls. So I ordered some more contact paper and got started on the cabinets in our laundry room.
As I was installing the contact paper, I realized that there are some tricks to making it easier to install and I thought I would share them with you:
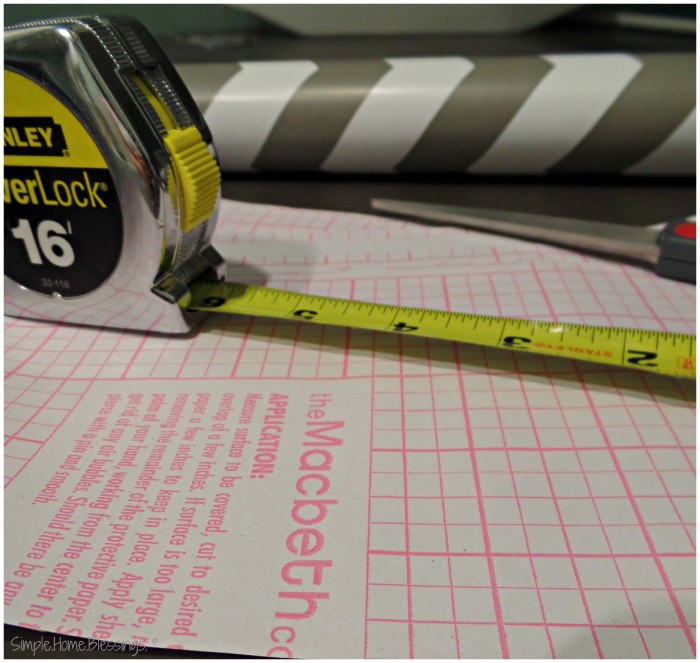
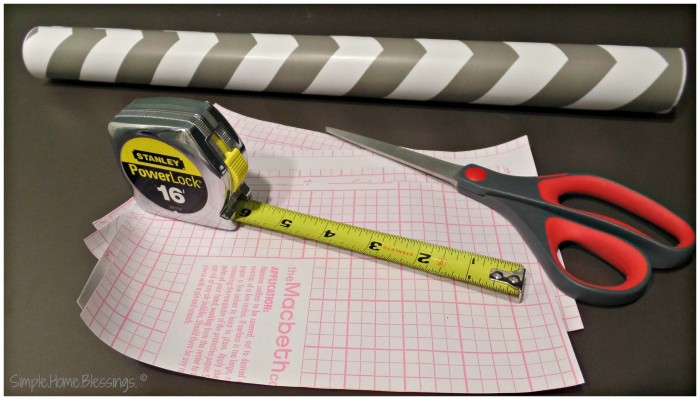
1. Measure and then measure again.
Making sure you have the exact measurements (more than once) prevents wasting precious contact paper. The paper I use is honestly not that expensive, but it breaks my heart to waste any of it (because it is too pretty to go to waste!). Measure the length and width of the space you are installing it on and then measure it again. Take your measurements to the contact paper and cut only when you are sure you have the exact right measurement.
2. Lay out your cut pieces to flatten
Since your contact paper is on a roll to begin with, it has a tendency to curl as you are using it. After you have cut your contact paper into the perfect measurement, lay it out on a flat surface and weigh it down to flatten it. When you go to install the pieces it will make the process much easier since you won’t be fighting the curling battle. The paper should go on much smoother as you install it.
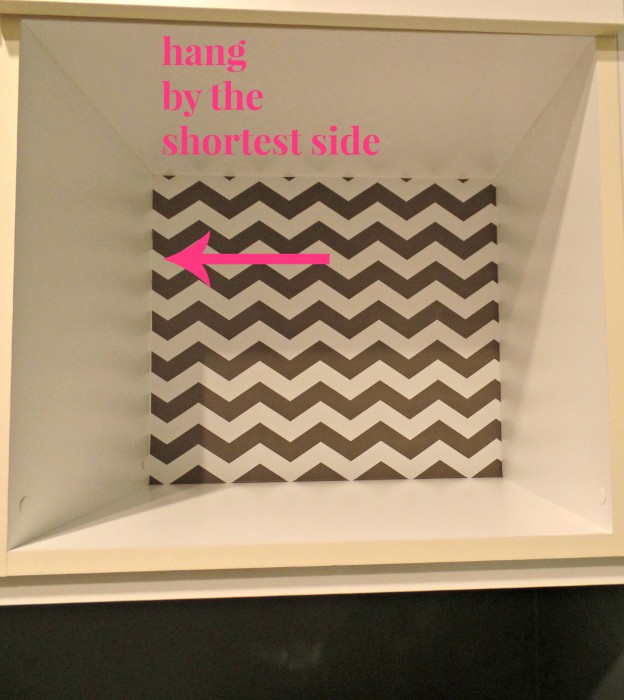
3. Hang by the shortest side
If it at all possible, hang your contact paper starting with the shortest side. This means if you have a 3″ x 5″ piece you will take the corners on one 3″ side and press them to your surface, then peel away the paper and work down the longer length of the surface.
4. Use a scraper or ruler to press the paper
As you lay the paper on the surface you are covering, use a scraper or flat-edge to press it toward your goal, the end. This will help to remove bubbles and creases. As you are working with the paper you may have some creases and bubbles that you are unable to press out – this is due to an uneven surface. Even if you are unable to remove all the creases and bubbles, the flat edge will help to make them as small as possible.
If you are in the market for a really awesome contact paper, I recommend The Macbeth Collection contact papers. They have a LOT of really fun designs and they are really easy to work with. Here is a link to the one I got from Amazon (affiliate link):

By the way, contact paper is usually pretty forgiving. If you mess up, you can pull it off and try again. And the transformation it provides is really fun and amazing! I am awful at remembering to take before and after shots of these projects, but I do have some fun after shots. Stay tuned to see the entire laundry room makeover I have been working on for months!