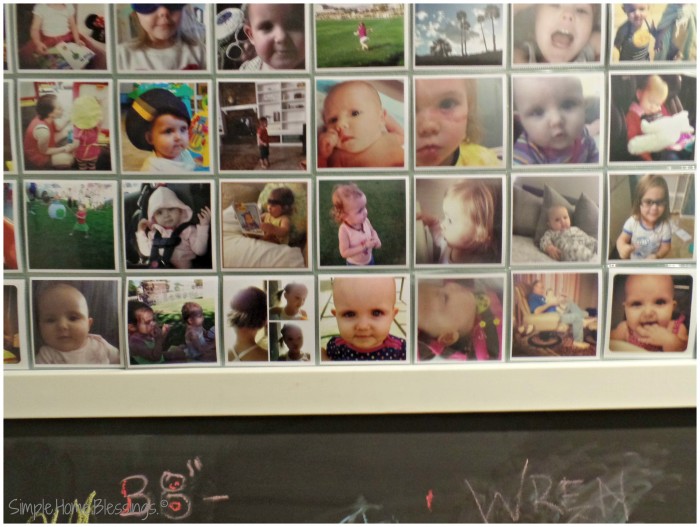
One of the projects I have been most excited to share with you here on this blog is our new laundry room. I have been working for months on small changes in there to make a BIG impact. The biggest impact is that I now LOVE my laundry room and want to be in there! And my favorite part of our laundry room is the wall that runs along the entry from the garage where I created a family Instagram Display and a place for the girls to doodle to their hearts’ content.
I am kind of an Instagram addict. I joined just before W was born and over the past couple of years have become an avid “Insta-poster” (I love making up new words!). It is just such a simple way to share the everyday things going on in our lives. It has also become the source of some of my very favorite family snapshots. But the only problem is, if I don’t print out the photos, I have to get on my phone to see them. Our girls would spend hours looking at the old photos with me. So, one day, inspiration struck to create a wall to display all our favorite shots.
As I started brainstorming this project, I ran into a couple of problems:
1. Instagram photos are kind of unique in that when you print them out, they are square, rather than rectangular. So they resemble the old Polaroid photos and require a different sized album or sleeve to put them in.
And 2. typically, when you print them out at your local drugstore, they come in two sizes: 4×4 and 8×8 (not there is anything wrong with that, but it just didn’t fit with what I wanted to do).
But, as I started working more on creating this family Instagram wall, I made a couple of leaps that worked out:
1. I thought, “Hey! Old CD cases are square. I wonder if I could print out my photos and put them in CD sleeves?”
And 2. I found the place to print my Instagram (square) photos in the size I wanted: 5×5 (that conveniently fit snugly into a CD sleeve!).
So here’s what I did to create our family Instagram display (it is SO easy to do and can be made into whatever size you like):
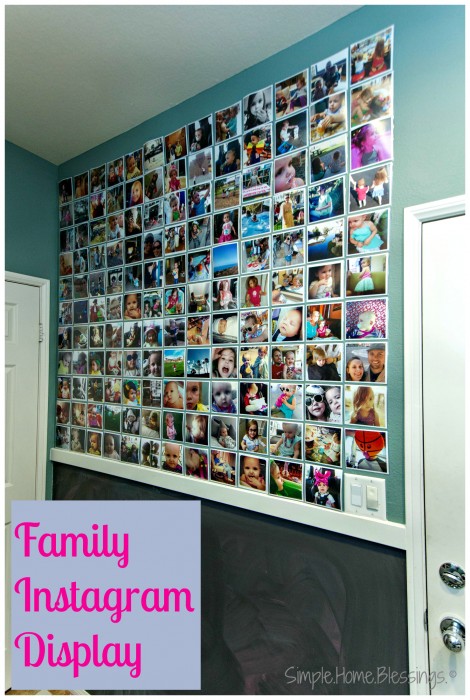
1. I measured the space I wanted to cover with my photos and calculated how many photos I could fit into that space. My space holds 10 rows of 13 photos and 1 row of 12 photos (pretty big!).
2. I bought 200 of these CD sleeves from Amazon (affiliate link). They are quite the bargain! And I have lots left over for replacing, if necessary.
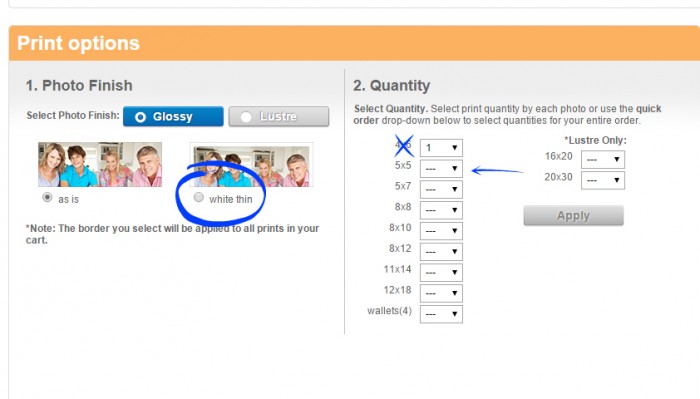
3. I printed my Instagram photos from Costco. This is a really simple process because you can automatically upload the Instagram photos to the Costco Photo website and then pick the ones you want to print. BUT where it gets complicated is in the selection of the size and other options. So let’s walk through that step-by-step.
First you select the photos you want to print and add them to your cart.
Once they are in your cart you can apply settings to the entire cart, or to individual photos. Since I was creating an entire wall of photos, I wanted them to look uniform, so I chose to have each of the photos outlined with a white border (this is a great option to have your photos look more professional and clean!). And then I changed the quantity of the 4×6 photos to zero and the quantity of the 5×5 photos to 1 (or 2 depending on if I was planning on sharing a photo with someone else).
Note: If you are printing Instagram photos, they will not print correctly if they are in a rectangular format and you will be sad with the results! Make sure you are printing them in a square format!
3. Once I had my photos and my CD sleeves, I set to putting them on the wall. I simply put a CD sleeve on the rail we had installed at the top of the chalkboard, made certain it was straight and put one staple into the back of it, making sure not to close the CD sleeve with the staple.
4. Then I inserted the photos into the sleeves. I worked a row of 13 at a time and worked my way up the wall.
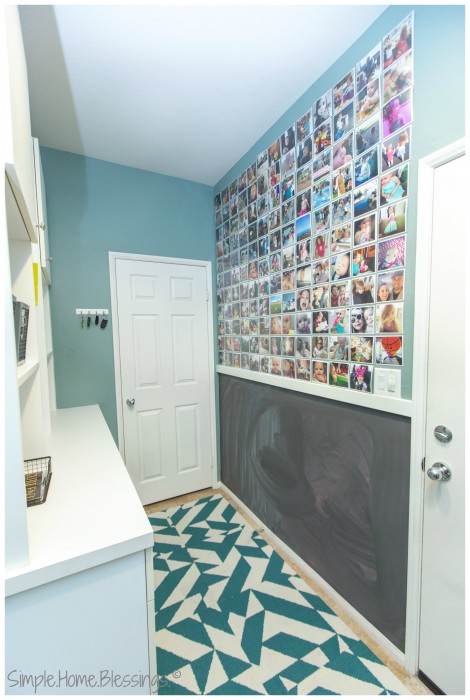
So the project couldn’t have been simpler, but it is honestly one of my favorite things in our entire house. Everyone who walks through that space, stops to look at all the photos. And the best thing is my girls do it, too! They reminisce about all the fun we have had as a family by looking at the photos and saying, “That was when we…” and “That’s ME!” My husband and I have taken a few minutes every now and then to just stand in front of the wall and talk about how much our girls have grown and which pictures are our favorites.
And the best part for me, as an avid Instagrammer, is that it is completely changeable. I can trade out photos as the girls get older and I take more photos! I am just so happy with it!
Do you Instagram? What do you do with the photos? Have you ever printed them out? Go. Do. IT. You will LOVE the results!











This Post Has 5 Comments
Awesome idea! You are so creative! Just got on Instagram but haven’t really tried it yet. This is inspiration.
We love it because some of our favorite pictures have been posted on Instagram. It really feels like the old Polaroids without the print-out. So this solves that.
Such a great idea, looks amazing!
Thanks, Marina!
What a brilliant idea. I think I will try this out for my laundry room. It’s not a room I care for much.