You know those things you do in your daily routine that make you feel like you are pretty smart? They are usually the solutions you happened upon after banging your head against a wall (problem) for a while. Or maybe they are the things that you thought of the moment you laid eyes on an object (cue lights and music) – and you instantly saw a solution.
Maybe it is pride…well, yes it is pride, but I glory in those solutions. I just love when I find something that makes me feel like a genius -when something makes life just one tiny measure easier. (How does one measure ease anyway?)
Our homeschool is dotted with solutions such as these. These little genius-level hacks bring me delight in the doing of our daily tasks. And honestly, until I mentioned them to other moms, I thought they were so mundane everyone was doing them.
Turns out they aren’t that common.
This post may include affiliate links. If you click and make a purchase based on my recommendation, I get a small remuneration at no extra expense to you. I only recommend things I use and believe to be a blessing.
My fifth-grade classroom was right across the hall from the Teacher Resource Center. I only got a few glimpses inside a few times, but I still remember the layout and wonder of this magnificent place. They had die-cut machines, laminators, paper cutters, and rolls and rolls of butcher paper! I should have realized then I had a thing for school supplies and pretty presentations. Now that I am a homeschool mom, I dream of a place like this for me….ah….someday!
Currently, I carve out places to work on my homeschool teacher projects wherever I can. I lost my office to our fourth baby. Thus everyone has to deal with my piles and piles of stuff all over the place. And I have a moving Mama Resource Center of my own. Still, I manage to figure out some solutions here and there.
So, I thought I would share my favorite printing-related homeschool hacks. Because they are the ones I use the most.
Invest in a decent printer
Someone much more printing nerdy than me could write a post about all the things you need to look for when shopping for a printer. I just go with what my tech-minded husband picks for his office. He has never steered me wrong. We currently have a printer with copy and scanning capabilities. Yes, this tip is seriously a no-brainer, but I told you I was sharing the simple stuff here.
You NEED a printer! A copier/scanner is a bonus I find useful.
Construction paper is your friend (even if your kids don’t want to “craft”)
I LOVE to print out covers for various curricula, items to be laminated, and pretty much anything that strikes my fancy on construction paper. I have never found nor invested time in finding construction paper that fits my printer, though. I use a paper trimmer to cut it down to size and put it through the printer! Genius!!
Bonus tip: I use the trimmings for fun art projects or sentence strips for my kids.
The construction paper makes whatever project you are working on more fun. I can pick colors I know appeal to my kids and the construction paper is more durable than typical copy paper. One of my favorite projects for my kids was creating readers from our reading curriculum with covers of different colors for each reader. They turned out beautifully! And I can pass them down to the next kid because they still look great after one kid’s use.
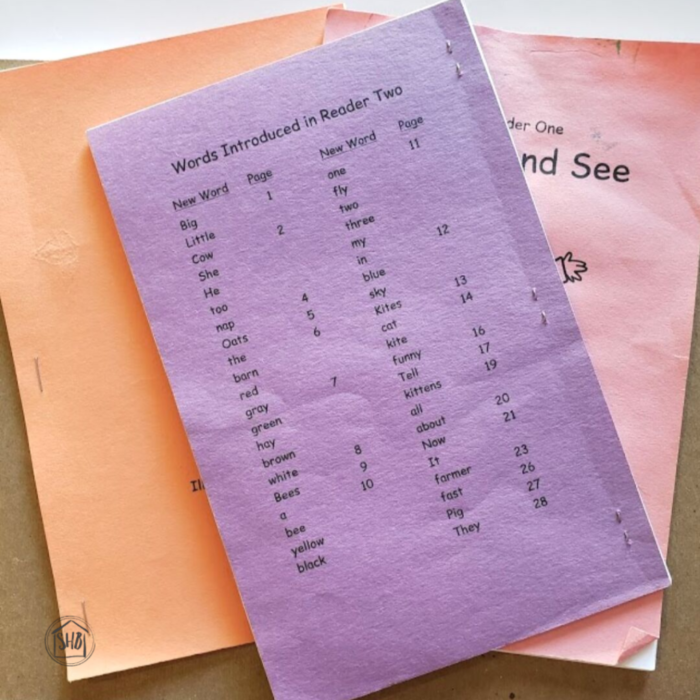
Lest you think you need some sort of skill to design covers for books, let me disabuse you of that notion. I do NOT create covers for our curriculum (as a general rule), I simply use the covers provided in the PDFs of the curricula – the ones intended for typical printer paper printing.
Laminate ALL the things
Yes, this is a homeschool mom trope. And yes, I do follow it! I absolutely love my laminator. I got a cheap one at Costco many years ago and until I wear it out, I will be using it. Someday, I may upgrade, but I am not messing around with what works.
You will want to get some laminating pouches in different sizes for different uses. I always have on hand the 9″ x 11.5″ size.
Say you don’t want to invest in a laminator, but you have a few things you want to laminate. Say, our Gathering Placemats? I have a solution for that, too! Purchase some pouches separately, slide your project into the pouches, and take them to the office supply store. They will slide them through their laminator for FREE!!
NOTE: I can’t imagine why they would not do this for you, so your mileage may vary on this one. But I got this information from my local rockstar Office Depot printer.
UPDATE: I figured out how to laminate only the front of a piece of paper! This knowledge kind of rocked my world! You can discover my trick in this post. I use this trick to create laminated puzzles for my little guy learner – he LOVES puzzles!
A little Dab Will do ‘ya
Are you struggling with smaller things you want to laminate, but you can’t get them to stay straight in a pouch so you can run them through your machine? A tiny smear of glue stick on the back of your project will help it stay in place. Genius, right?
Cut it Down and Coil it
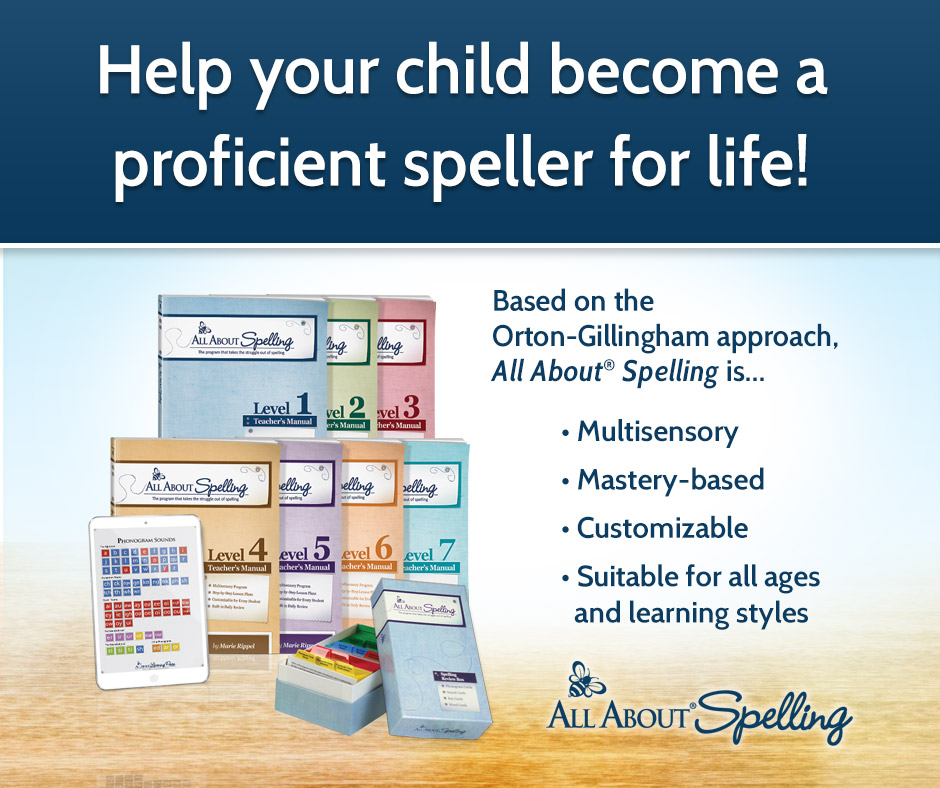
I am a HUGE fan of taking books apart and putting a coil (not a comb) binding on them. I love that the books can lay flat while in use and can be left open to the current page when I am done. I did this with our all the levels of All About Spelling and it has made teaching spelling SO MUCH EASIER!
I have not yet invested in a binding system, but if I did I would get this one. Currently, I just take any books I want coiled, down to the office supply store’s printing center and have them cut the binding off and coil them. They can also add a backer and a clear cover if I want. I have found this to be super cost-effective for convenience.
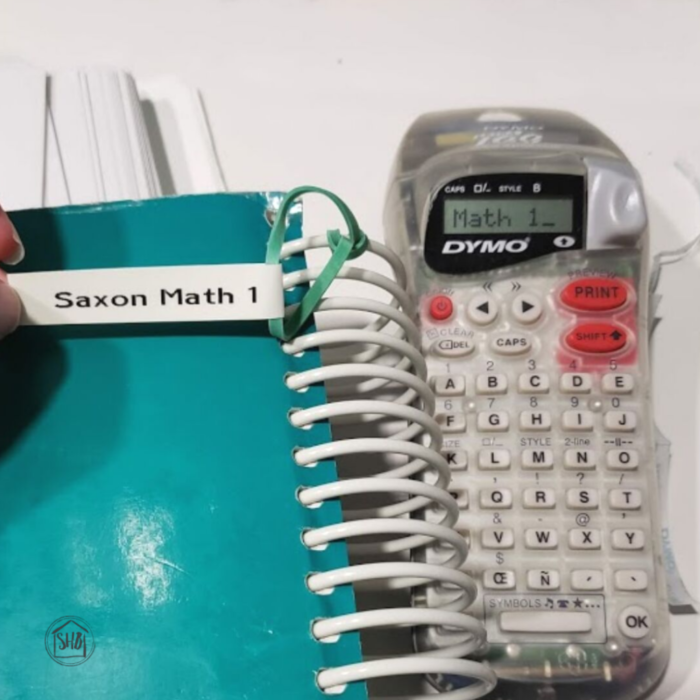
And, I even have a tip for identifying all those coils. The one drawback I have found of the coil is the lack of an easily identifiable spine. I fixed that by using my label maker to make labels I attached to the back of the coil with a rubber band. Yes – I feel like a genius!
By the way, a coil system is so great for making any copies you might need. See next tip.
Buy Once, Copy Endlessly
I have four kids. So the likelihood of more than one kid using the same resources is extremely high. I like to purchase curricula one time that I can use for all the kids. The word “consumable” is not used around here.
For example, I LOVE the book I got for G this summer to help her with her math facts (Subtraction Facts that Stick). It has games and practice sheets in the back. Instead of cutting out the games and having her complete the practice sheets in the book, I preserved the book in its pristine condition by making copies of the practice sheets for her. Well…pristine after I cut and coiled it!
And for the games, I made copies of the games on…wait for it…construction paper and…there’s more….laminated all the pieces! Yep! I do feel like a genius! All the pieces and parts go into a large Ziploc bag I can pass down to the next 3!
Take Advantage of the Best Resources Online
There are a number of amazing bloggers I follow closely through email subscription because they offer the BEST printables. I am not dependent on worksheets for our schooling; it is not a fit with our style of homeschooling.
However, there are a number of other parents and teachers out there who are making printables we do love and use.
I humbly hope to be one of those moms for you! I have been working on creating a treasure trove of printable resources to help you in your homeschool. This library of resources is available just around the corner, in my shop.
Do you have a simply genius homeschool printing hack to share? I would love to hear from you in the comments!


This Post Has 3 Comments
What great ideas! I never thought about changing the books to coils but I will be looking into that for sure!
Thanks! I seriously thought everyone had heard of these, but I am glad others get to hear them now.
Awesome, resource-saving ideas you have there!