Last year we started a new tradition for reading a Christmas book a day as a countdown to Christmas. At the end of the season, I tried to store away all the Christmas books; but there were some that the girls liked so much, they found their way into the everyday reading routine throughout the year. One of those books is J is for Jesus by Crystal Bowman. It is a sweet little book that tells the story of the candy cane and the birth of Jesus. It was my hope to make crafts or activities to go along with each of the books we read this year in our Advent books. So, I came up with a simple sticky candy cane craft for our girls (ages 2 and 3) to do.
If you have been reading this blog for a while, you know just how much I LOVE contact paper! And this craft uses contact paper to make the candy cane sticky. We had all the supplies necessary for this craft on hand and it was very easy to throw together during the girls’ daily rest time. Here’s what we did:
Materials:
- construction paper (1 white sheet, 1 red sheet, 1 green sheet)
- contact paper
- candy cane template (I traced my own)
- tape
Preparation:
1. Trace the candy cane template onto green sheet of construction paper. Cut out the candy cane, making sure to only cut into the design one time from the outer edge of the paper – meaning you will have a cut out candy cane and a piece of paper showing the cut out candy cane with one small cut going to the end of the paper. Tape the small cut closed – this will be the back of your candy cane.
2. Use the resulting candy cane cut-out to measure a rectangle large enough to cover the candy cane on your green sheet of construction paper. Place the cut-out candy cane in the center of the rectangle and cut about an inch larger than the candy cane – on the back of the candy cane.
3. Apply the contact paper rectangle to the green construction paper over the candy cane, making sure to completely cover the outline of the candy cane, sticky side down.
4. Place the white construction paper on top of the green construction paper with the contact paper sandwiched between them. Tape the edges of the papers together. When you turn it over, you will have a sticky candy cane canvas.
5. Cut a small strip (about an inch) out of the red sheet of construction paper and then cut the strip into smaller pieces – they do not need to be uniform.
6. Set up the sticky candy cane canvas and the red strips for your little one. You can tape the whole thing to a wall or door (or easel) or place it on a table for them.
Procedure:
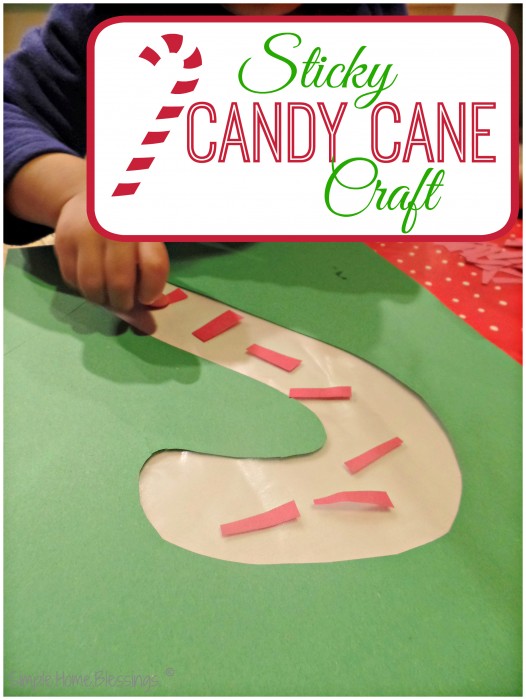
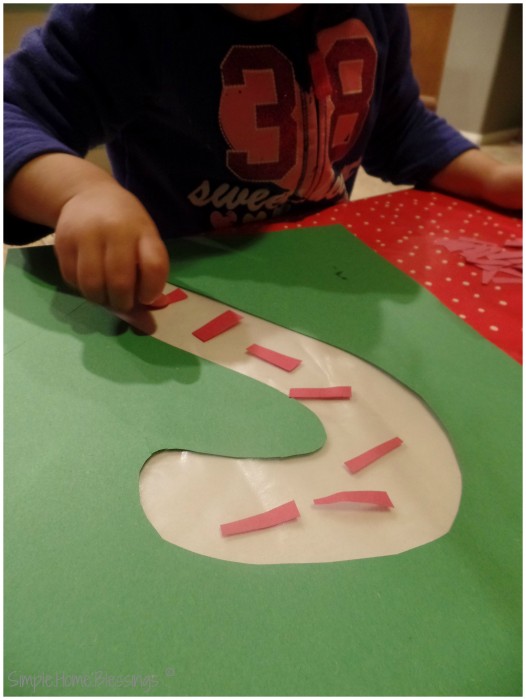
We re-read J is for Jesus and talked about making candy canes. Then we talked about how candy canes are sticky and I showed them the candy cane canvases and how they were sticky. I asked them if they would like to make candy canes and they were pretty excited to do so.

As they placed the red onto the candy canes we talked about the shape of the candy cane – that they make a letter J and when you turn them over they make a shepherd’s crook.
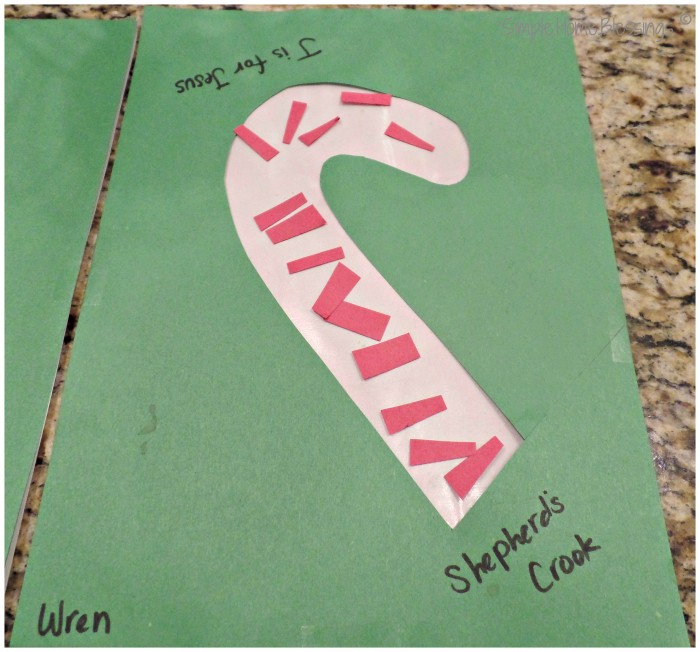
When the girls had their candy canes the way they wanted them, we wrote their names on the paper and wrote “J is for Jesus” at the top of the candy cane. Then I turned the paper over and wrote “shepherd’s crook” at the bottom of the candy cane.
The girls are so proud of their sticky candy canes and had lots of fun making the craft! They of course ran off to show them to Daddy and can’t wait to show them to anyone that comes over to the house.
What are you doing this holiday season with your kids?
Note: this post contains affiliate links. This means if you click and make a purchase, I receive remuneration and you get the same price you would if you shopped on your own.






This Post Has 2 Comments
I love sticky crafts for my toddler. She would love this!
I do, too! Contact paper is a wonderful thing!