I have been on an extended run of diaper duty: SEVEN YEARS (!!) with no end in sight! Four kids under 7, means A LOT of diapers and A LOT of, ahem…smells. I know I am not the only homemaking mama that has tried it all to make sure that when welcoming guests into her home, they are not immediately tipped off to the fact that my day is full of diaper duty. Because, let’s be real:
DIAPERS STINK!
It took me almost 5 full years of diaper duty to discover the real-deal solutions to the diaper stink problem in my home, and I know you are going to want to know this, too!
We currently have two little ones in diapers. Ugh… and I have been working on this problem since long before we had our second baby. We discovered some things along the way that helped; but I solved the entire diaper stink problem.
First: You are Doing it Wrong!!
I was, too! Don’t worry, you can fix it! Here are the common STINK situation problems and how to remedy them.
Problem #1: You Registered for the WRONG Diaper Pail
First of all, and this is the most important thing I am going to tell you – you may have purchased/registered for the WRONG diaper pail. I haven’t looked up to find out which diaper pail is the most popular, but I would take a guess that it’s the Diaper Genie. I mean, it is all in the name, right?
BUT, the Diaper Genie is a stink factory – literally. We had one for the first baby and part of two babies in diapers (the first time around) and we just assumed that diaper pails in general make your house smell like a baby waste factory, BUT it’s not the fact that you have a diaper pail, it is the fact that you have a Diaper Genie.
So, which diaper pail should you buy/register for instead?
Solution #1: The RIGHT Diaper Pail
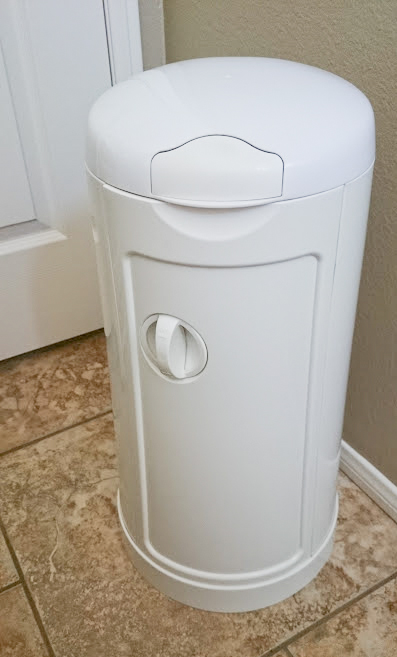
The Arm & Hammer Munchkin Diaper Pail – it’s rated #1 in Odor Control (in laboratory tests). And the myriad the experiments done in our own “laboratory” confirm their conclusions. This is THE diaper pail to help control diaper stink in your home.
What’s different about the Munchkin, that makes it better, is the construction of the pail itself, and the bags that go in it. The pail is made to twist “closed” at the top each time the lid is closed on the pail. It also has a set of flaps to help keep the bag cinched while the lid is down. This effectively closes off the source of the stink. You only smell the diapers in the pail upon opening and closing the lid.
The Diaper Genie is not designed this way. When it is closed, there is still a wide gap at the top of the bag inside, allowing straight-up stinky stinks to escape through the lid.
Problem #2: You are using the WRONG bags
If you are a victim of problem #1, you are a victim of problem #2. Sorry to tell you, the diaper disposal bags in the Diaper Genie are terrible!! Not only are you required to make your own bags through a strange process of cutting, tying, and resetting (something we all have time for with little ones, right?); they are not great quality bags. I can literally smell right through them – YUCK!!
Solution #2: The RIGHT bags
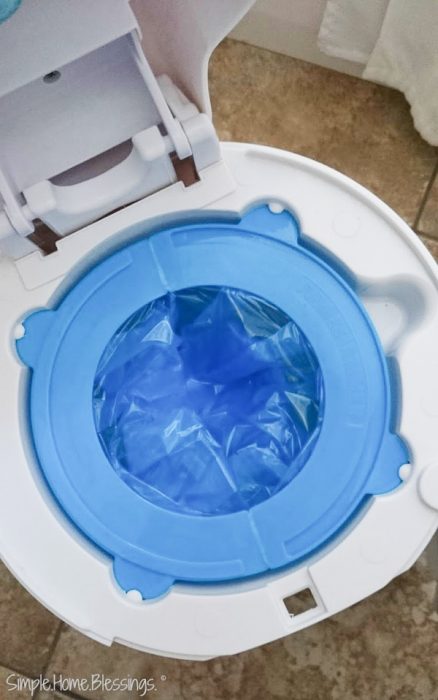
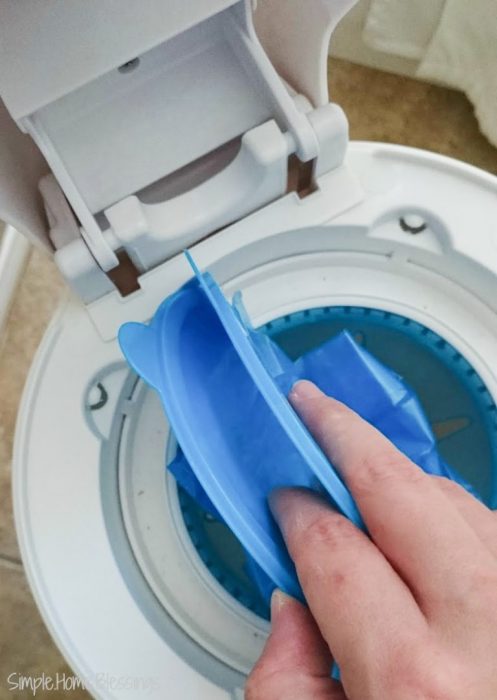
The Arm & Hammer Munchkin pail uses a completely different type of diaper disposal bag. First of all they are officially a “bag” – not the cut and tie method with the Diaper Genie. They are also easier to use because they have a locking system at the top. The bags themselves are also thicker than the bags that come with the Diaper Genie. When the diaper pail is full, the resistance to close the pail increases because there is not ample room to twist the bag again when it closes.
To take out the diaper disposal bag, you simply click the bag closed, push it through to the bottom, and remove.
NOTE: a few years ago (we have been changing diapers ever SO long), Diaper Genie and Arm & Hammer decided together and put the full force of their marketing prowess behind the Diaper Genie’s bags – I am telling you it is all in the name. BUT you can STILL get a Munchkin Diaper pail and the refill bags. You just have to know what you are looking for. The ones you want say Snap, Seal, and Toss. For a minute there, the bags were crazy hard to find. But I think the Arm & Hammer people know what’s up with diaper stink and they quietly have started making the refill bags more widely available.
Also, there is a diaper pail on the market that merges the two diaper pails into one. It is the Munchkin Step pail. It can use both types of bags: the snap and seal and the cut and tie versions. If you are interested in trying out the different bags to see what I am talking about. I, for my part, am sticking with what I know.
There are some other reasons your house smells of diapers. The pail and the bags are only part of the problem! And even the right diaper pail and bags can only help so much.
Once you have the right stuff, I have some tips for how to use your Munchkin Diaper pail to maximize the stink-reduction in your home.
Use baking soda often
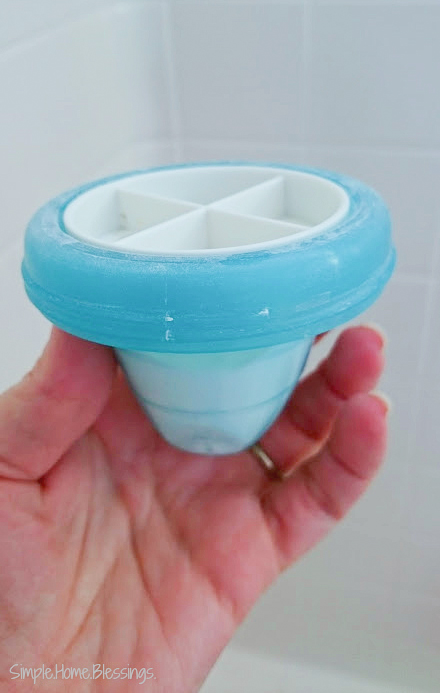
The Munchkin works so well because it utilizes one of the most natural odor-reducing products available – baking soda. The Munchkin pail has a reservoir for baking soda that sits in the lid. Every time you open and close the lid, a small amount of baking soda is released into the bin, which helps to neutralize odors quickly.
In order for the baking soda to do its best work, you should change out the reservoir at least once a month, AND in between reservoir refills, I recommend that each time you change out the bag, you sprinkle a little baking soda into the bag before you put any diapers in it.
Clean the diaper pail seasonally
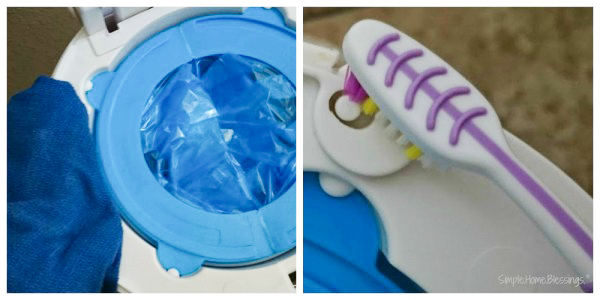
I am not sure how often you clean the garbage cans in your home, I tend to do it quarterly. When you clean the garbage cans, clean the diaper pail. If you do it seasonally, it makes it easy to remember when you did it last. A good cleaning includes scrubbing with soap (I really like to use the Dr. Bronner’s baby soap) and water.
I recommend doing in the bath tub. Make sure you remove the baking soda reservoir before you clean the pail! Use a small brush or an old toothbrush to really get into the nooks and crannies of the pail.
Once the diaper pail is clean and the reservoir is freshly packed, you are ready to address the last problem.
Problem #3: Scented Stink
One of the common misconceptions in homemaking is that air fresheners actually help to freshen the air. But what the commercials don’t say is that instead of actually refreshing the air, you end up with stinky-flowery smells instead of just stinky smells. You know the commercials that talk about going nose-blind, etc. It is true
Solution #3: True Odor Control
What you really need, instead of an air freshener, is an air neutralizer. I found one that takes away any residual diaper stink, for real!
While shopping the aisles of Target one day a few years ago, I found one. I was super skeptical, so I went home and did some research before buying it. I was so happy when I finally tried Fresh Wave Odor removing packs. They remove the stink inside the pail!!
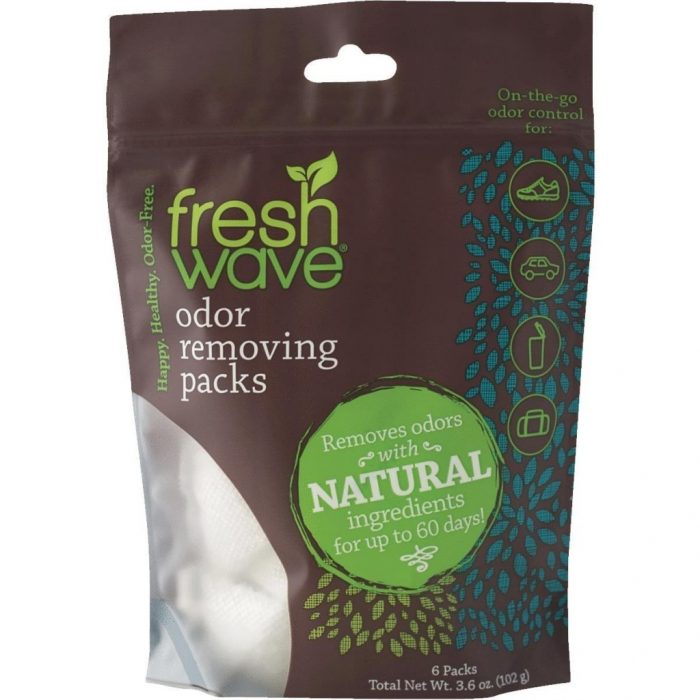
We keep our diaper pails (plural, for the plural kids in diapers) in our babies’ rooms and in the laundry room. Typically when the diaper pail is half-way full in our laundry room, there’s a certain “smell” greeting us upon entry to our home. I popped one of the Fresh Wave Odor Removing packs into the bottom of our Munchkin last month and I have not smelled a diaper stink upon entering my home since! For those of you with sensitive noses (I have one, too), I seriously, cannot smell the diapers inside my pail! There is a door that locks shut on the Munchkin. With that closed and the Fresh Wave pack in, I am good to go!!
Are you currently in the diaper changing season of life, or are you about to be? If so, I highly recommend that you get/register for the Munchkin pail and pick up a pack of the Fresh Wave odor removing packs. Trust me, your nose, and the noses of your guests, who come over to coo over your little one, will thank you!
