Communication with babies can often be difficult. They can’t tell you with specificity what is bothering them. So as parents, we come up with a working knowledge of each cry and scream, decoding the various tones and volumes and hypothesizing about what their needs are. The earlier we can communicate with them and have them communicate back, the better. That is why I am so thankful for baby sign language.
I am not an expert with sign language. But I have used it successfully with our FOUR babies at early stages. I wrote Simple Effective Baby Sign Language where I shared the most basic and most necessary baby signs. If you are just starting out with baby sign language, I would start there with the most basic baby signs.
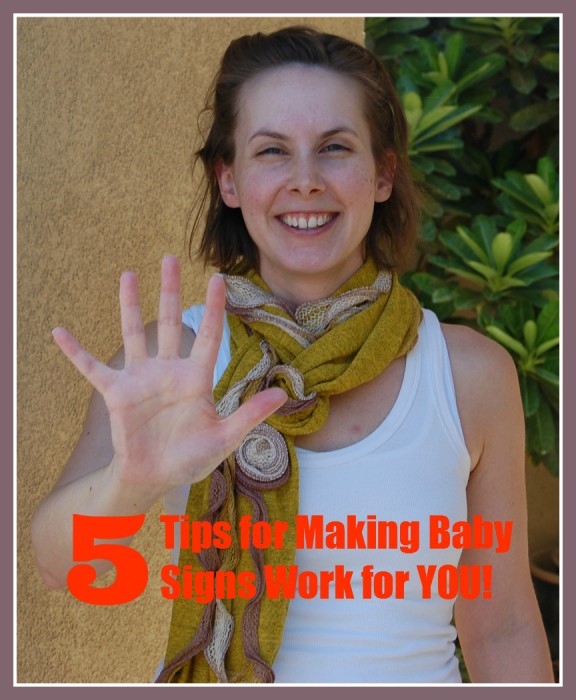
But I wanted to go a step further to help moms (and dads) by giving you Five Tips for Making Baby Signs Work for YOU!
Baby Sign Language Tip #1: Be diligent.
At first you may forget to show your baby the signs every time you talk to him. But if you make it part of your routine, your little one will start to recognize the signs much faster. That means you will be able to understand your baby at an earlier age! Yea!
Keep it up, make it a habit and you will see results.
Baby Sign Language Tip #2: Be patient!
We showed our first daughter some of the basic signs for MONTHS before she communicated them back to us. We were somewhat skeptical with the whole sign language thing and then suddenly(!) she started to sign back to us…a lot! The reward of your patience is open communication with your little one – so worth it!
With subsequent kids, we started earlier and earlier with the baby signs. Our current little love is only 9 months old but she has been putting her hands up to be picked up for months because we worked on the “Come here” sign from birth.
Baby Sign Language Tip #3: Say and sign.
It can be tempting to either say the word or show the sign. Try not to do one or the other. Do both at the same time. This way your child is learning visually and aurally – something will likely click for them.
Baby Sign Language Tip #4: Make the signs your own.
If you are someone who normally talks with your hands, you may already have some signs in your vocabulary. Use those! They will come more naturally and will translate to your child much easier. We did this with “all done.” We did not do the official “all done” sign for our little ones (see what we did here), but the message still got across.
Communication is something that works when both parties understand one another. And perfection of language (or sign langauge) is not necessary for communication. Some parents tend to baby talk with their kids; making words with lots of “y” endings. The kid still gets what is being put across.
We tend to go with what works for conversing with our little ones. And that means our baby signs might look a little different than yours.
Baby Sign Language Tip #5: Translate for your child
With some of the signs, your child may not do it perfectly. In fact, it may not look anything like the “official” sign. But that is OK! Keep showing her the correct sign and accept her variation as if she were showing it correctly.
Our oldest daughter did the “please” sign like she was attempting to choke herself (or threaten another person with a knife) and the “help” sign was more like two arms flailing upward. But we understood her and that is all that matters! Our boy, on the other hand, had very defined signs that were the closest to the “actual” signs. It was super cute to see him ask for things he really wanted by rubbing his entire torso enthusiastically.