We are in the middle of a remodeling project in our living room that has (of course) taken much longer than we were expecting. But we are starting to really see things come together and are almost done with it! And last week we had some custom shelves installed on one of our walls. I have been having so much fun deciding how I want them to be styled and I am pretty happy with how they have turned out so far. So I thought I would share with you 5 steps to creating a layered look on shelves.
The shelves we had made are inspired by Restoration Hardware shelves that we just could not see ourselves spending what they ask. I am so thankful my husband is a builder and has LOTS of connections. So, he took the picture into his friend Kurt at Jaeger Metal and asked him if he could make them. They worked out the design for the shelves and D gave him some measurements. I am so excited about how they turned out! They are the perfect addition to our living room – where we are doing some industrial elements.
A week before we got the shelves installed, I was looking through the latest Pottery Barn catalog and was admiring the layered look they had on some of their display shelves and showed D that was what I was going for. Once the shelves were installed, I got to play for a while with the different elements we want to include in the area. And I thought I would share what I did to create our look.
#1: Choose some framed pictures to hang on the wall behind the shelves
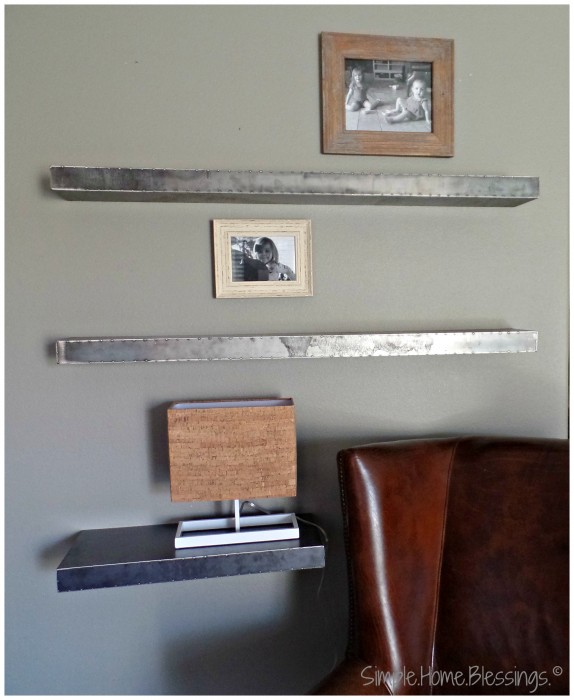
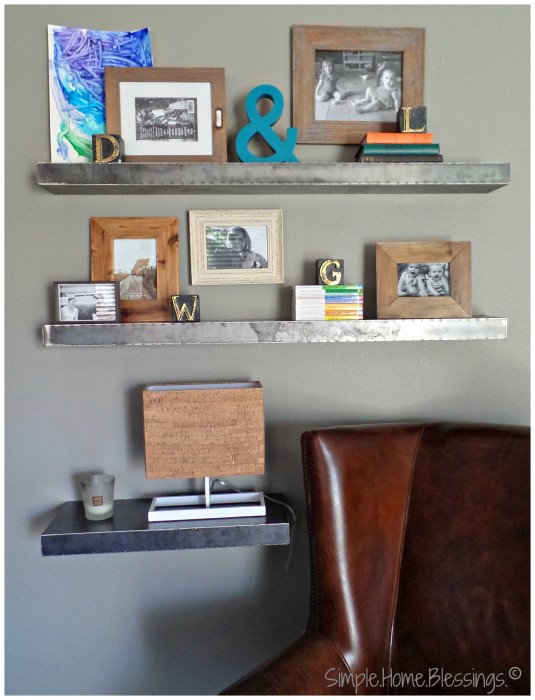
Hang a couple framed pictures or works of art on the wall. This will give your shelves a little bit of height that you can’t get by just putting items on the shelves. We hung two frames: one above the top shelf and one in between the top two shelves. We also knew we wanted a lamp to sit on the bottom shelf for reading, so I that went on the shelves first.
#2: Place other framed pictures or artwork on the shelves
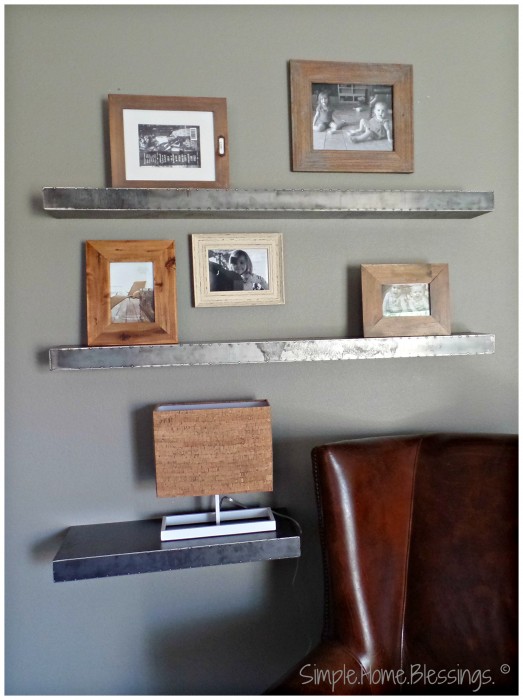
Place the frames in random spots on the shelves, playing with the heights of the frames. We collected these frames over the last few months, as we found them on clearance, to create an eclectic look. I placed them on the shelves and decided which orientation (portrait or landscape) I wanted for each of them based on varying the heights. Then I had pictures printed in the sizes and orientations I needed.
#3 Personalize the shelves to your reflect family and style
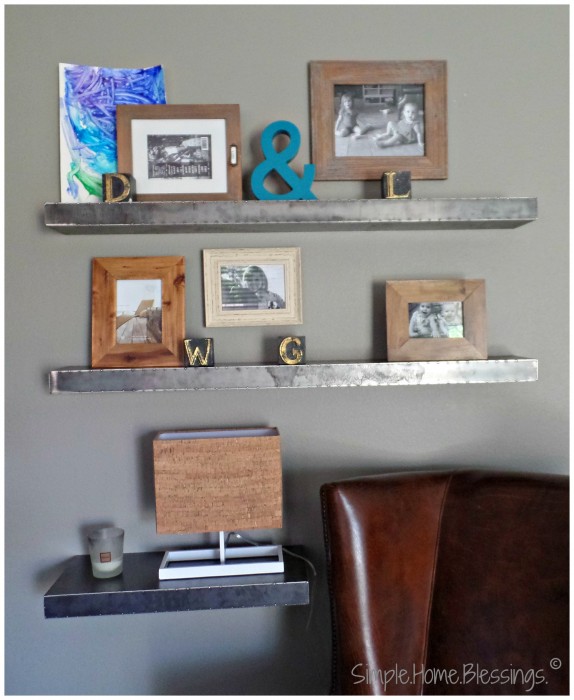
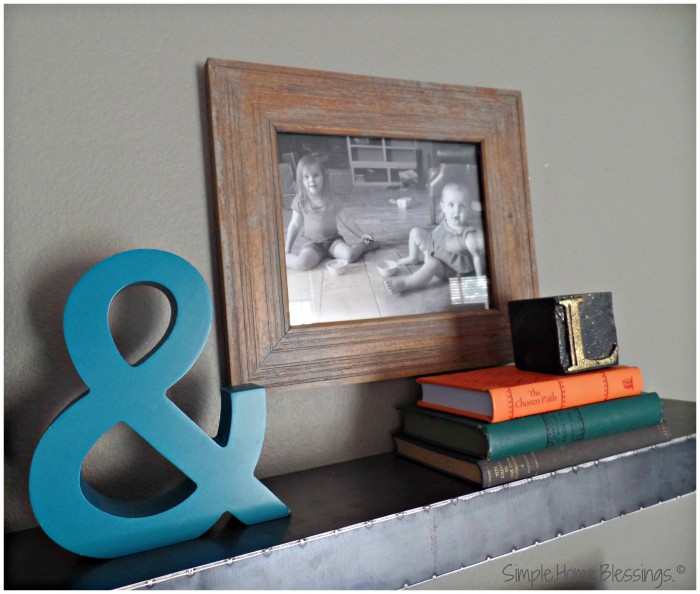
We added in some one-of-a-kind art from an up-and-coming artist and letters representing the first initials of our names. I had the ampersand for another project in the house, but I am happy to switch it up and put it in these shelves. I also added a Firewood candle, my husbands favorite scent. The items on our shelves could also include items of meaning to us in the future. But I really like the pop of color and uniqueness that these items bring to these shelves. And color is something we really have to force ourselves to add to our decor style.
#4 Add some books or small boxes
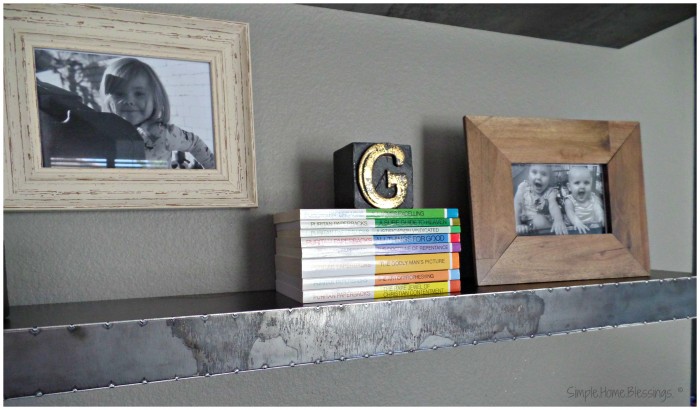
These will help to vary the height of the shelves and can add some much-needed color to the layered look. We included some vintage books as well as some Puritan Paperbacks that just beg to be included on shelves (because of their colorful covers). The last picture I added in at the last minute is in a box-shaped frame from Crate & Barrel.
#5 Be open to change
Full disclosure – these shelves already look different from when I took these pictures! The nature of decorating around our house is transient! And I wouldn’t have it any other way. The nice thing about creating a layered look for your home is that it can always change. If we go on a trip and get a special trinket, we can add it easily to the shelves. But curate the shelves carefully to avoid looking like or becoming a hoarder.
Do you have display shelves in your home? What are your must-have items to place on them?





This Post Has 17 Comments
The shelves look great! I love your style!
Thanks, Sara! I am really enjoying the look of them!
I have looking for some new ways to add some character to my living room!! Love this! Come back on over to Happiness is Homemade on Sunday cause you are being featured!!
Thanks, Mommy on Demand! We are really loving these shelves, too! Thanks for the feature!
I think you did a great job! And you made it look easy…want to come decorate my master bedroom?
I love your shelves! I need to redo mine. This gives me lots of ideas! Visiting from Sits.
I really like the wall color, it creates a nice cozy feel. Love the layered look of your shelves.
I love these shelves.
Makes me think of the glass shelves my mom had to put knick-knacks on.
I’m visiting from Sharefest
I like this. It makes the shelf look fuller. I’m stopping by from SITS. Happy Saturday!
Love how these came out! I also love how you personalized them-they add a unique touch! Stopping by from SITS.
Love the layered look! Especially the blue ambersand, very cute x
Thanks! We are still loving our shelves! Thank you for stopping by and leaving a comment.