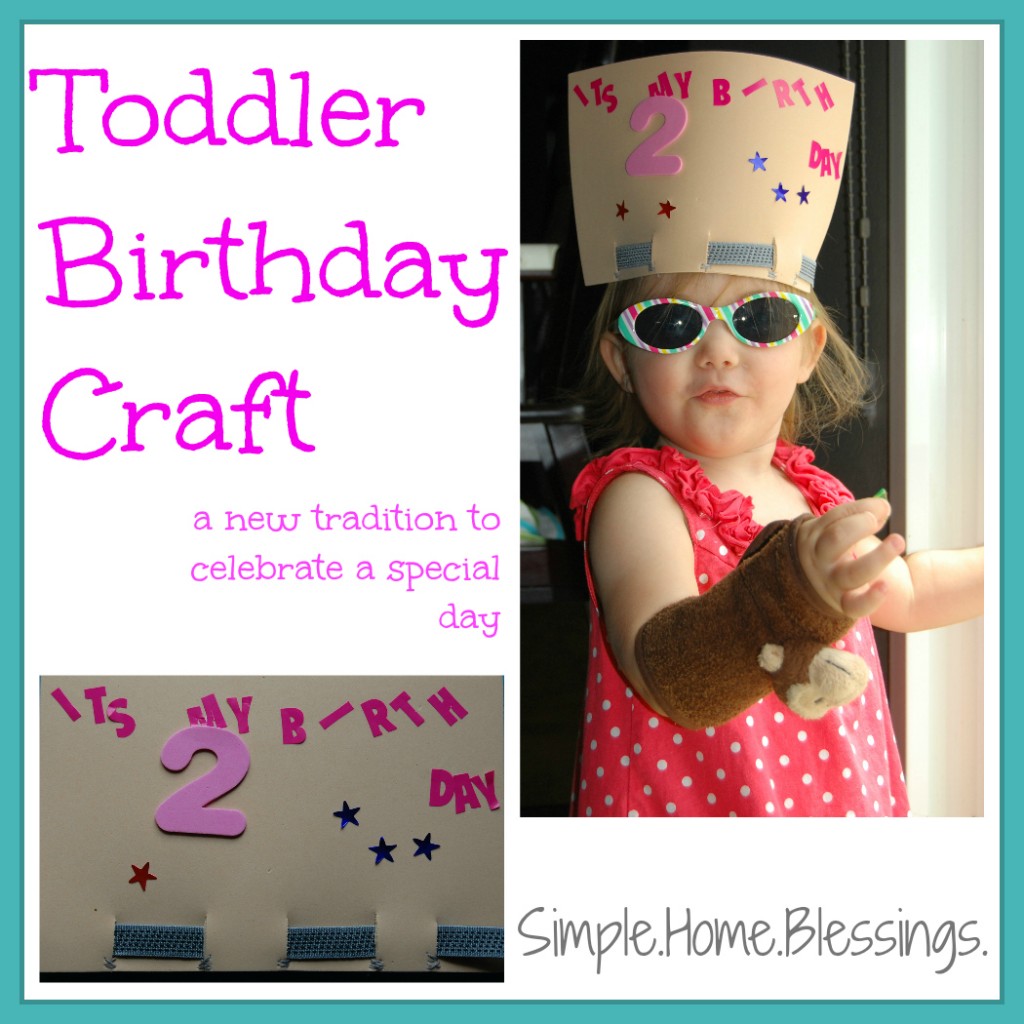
For those of you who read this blog regularly, you may have noticed our G’s love for headbands. She is kind of obsessed with them. I do not put them on her. She puts them on herself. But I do think it is adorable.
The night before her second birthday I was thinking about her and what she loves when I suddenly had a lightbulb moment. I came up with a way for her to celebrate her birthday and make a headband to wear.
The morning of her birthday, I got up and put together the supplies for the project and waited for her to wake up to do it (of course, she slept in!). Here is what we did:
Supplies:
- a headband (we use the adult size Ouchless ones from Goody)
- craft foam (one sheet)
- crafting knife (or scissors)
- needle and thread
- stickers (we used alphabet, stars, and a foam number)
Procedure:
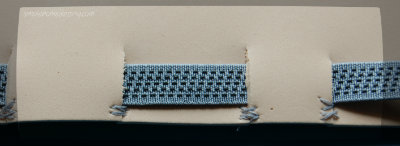
- Cut four slits on the bottom edge of the piece of craft foam (just a bit longer than the width of the headband).
- Insert the headband into the slits, weaving alternately over and under.
- Stitch the slits closed with the needle and thread. I just used a simple X pattern for stitching it (it is not perfect!). Now your headband is ready to be decorated by your little one.
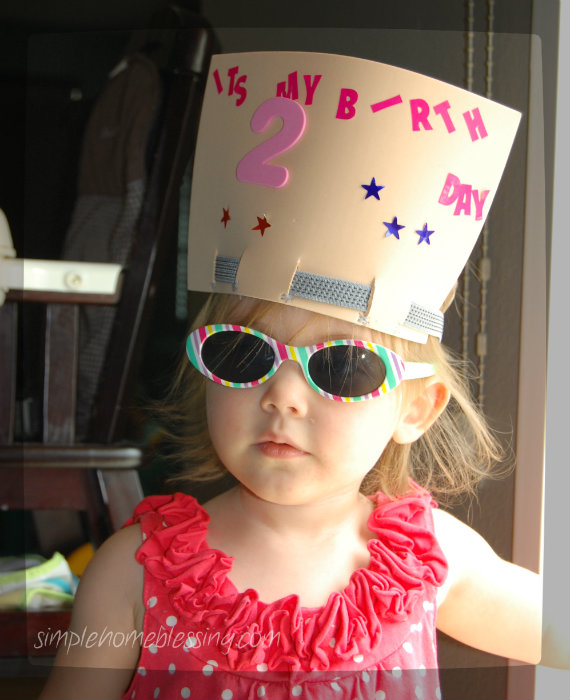
- Help your child to place the stickers on the foam in the design they prefer. We decided to use stickers to spell, “It’s my birthday.”
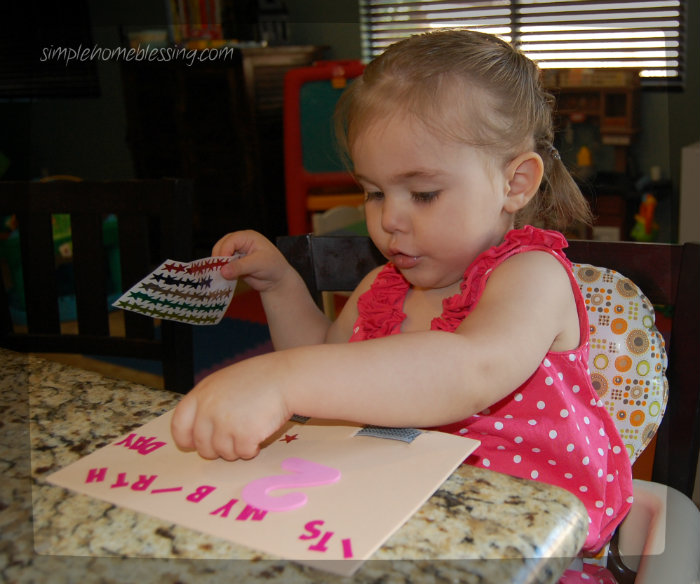
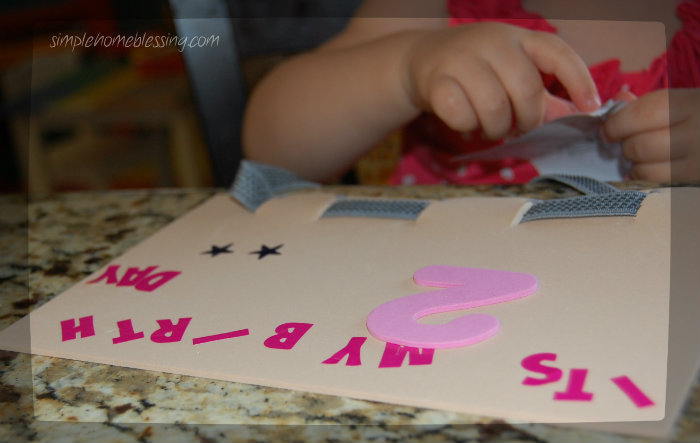
This was such an easy project for G and she enjoyed working with the stickers. True to her two-year old form, she refused to put it on after we were finished. I had to wait until later in the day for her to wear it, but she loved wearing it once she got it on. It was quite the dress-up accessory!
This post was shared on: Pinterest Crafty Mom’s Share


This Post Has One Comment
What a cute idea! Thank you for sharing at Sharing Saturday!!